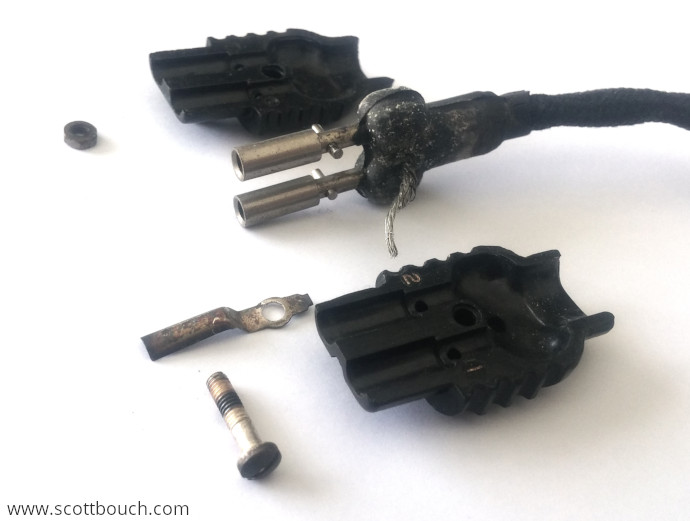
British H-Type Aircrew Oxygen Mask:
Restoration
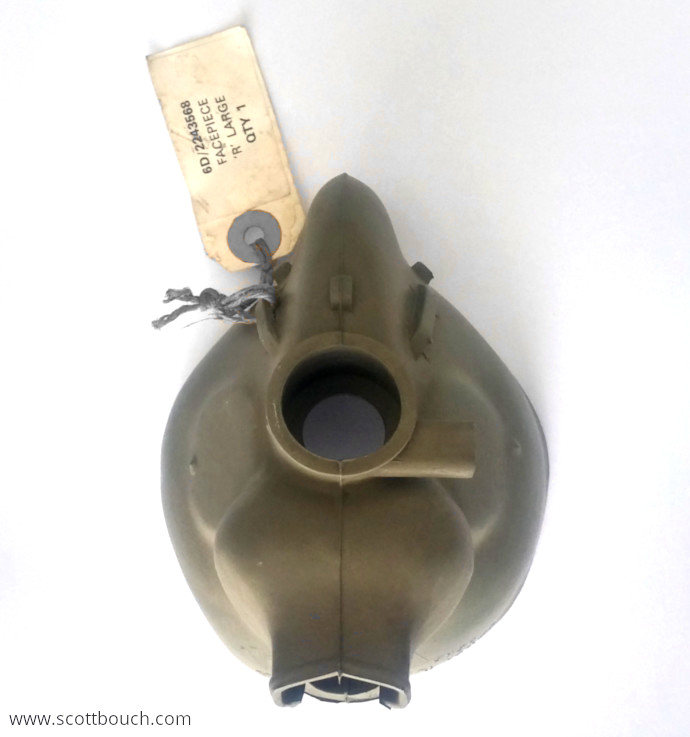
This H-Type mask was in a very sorry state when I acquired it for about £5.00 some years ago. At the time, I removed all the parts and dispensed of the crumbling rubber facepiece.
As luck would have it, some New-Old-Stock (NOS) rubber facepieces for H-Type and R-Type masks had been appearing on ebay and at aeroboots / aerojumbles.
A friend picked up this NOS R-Type and H-Type facepiece for me for £8.00, so I could use it and the bag of bits to build up a decent H-Type oxygen mask.
Type 71 Microphone
The Type 71 microphone was a challenge to install due to the cable having to be passed through the sleeve of the mask. I removed the outer shell of the microphone socket, to reveal the rubber moulding inside - this was the smallest size I could make the cable.
I used Hellerine oil and Hellerine pliers to stretch the facepiece sleeve over the microphone socket rubber lump.
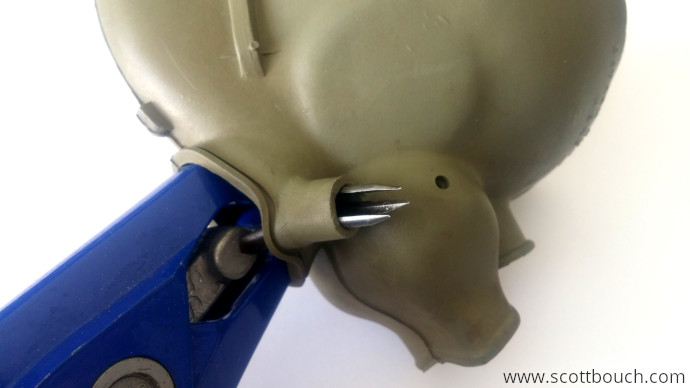
It was a bit of a struggle, trying not to tear the rubber facepiece. Also with hellerine oil on it, the black rubber easily leaves black marks on the green facepiece, so extra care had to be taken.
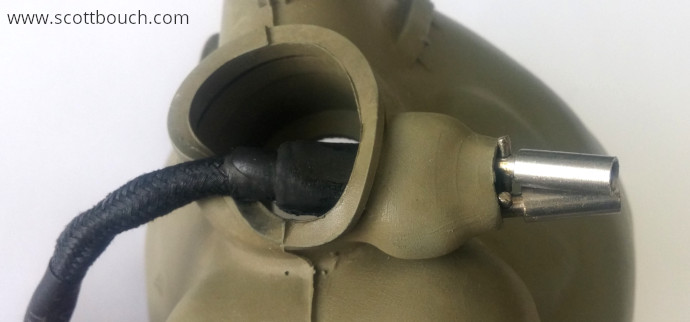
Then had to repeat the procedure to get the black rubber sleeve through too.
Once all bits are passed through, the microphone pops into place easily, and then the black rubber sleeve is stretched back over the facepiece rubber sleeve.
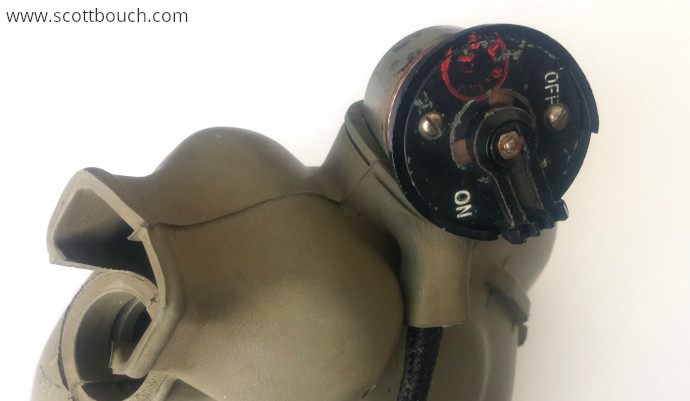
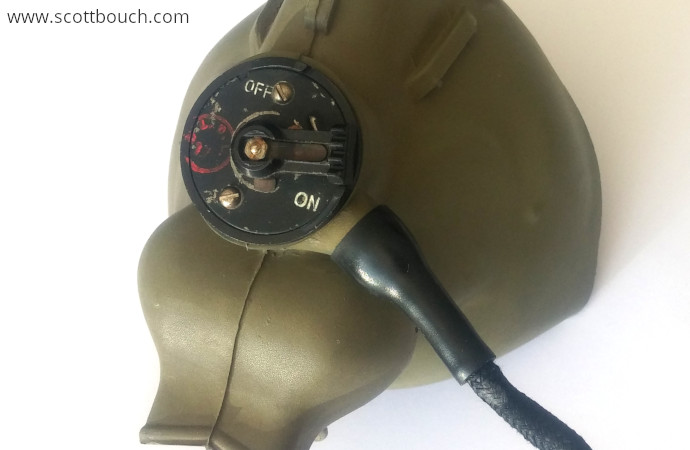
Later the microphone is wired in place
Outlet Valves / Exhalation Valves
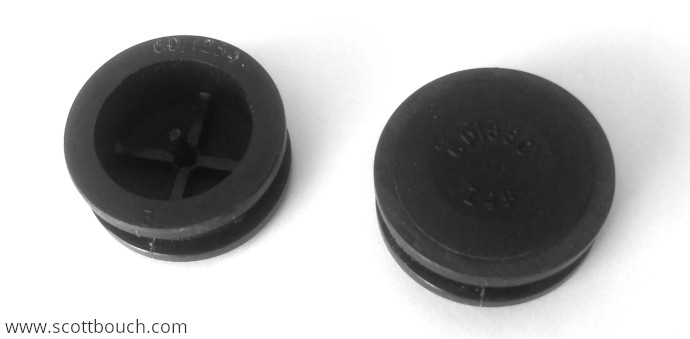
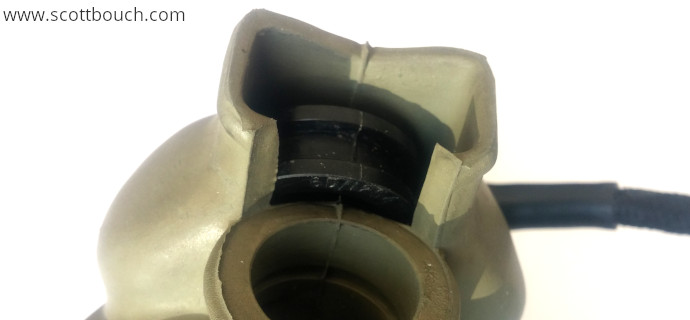
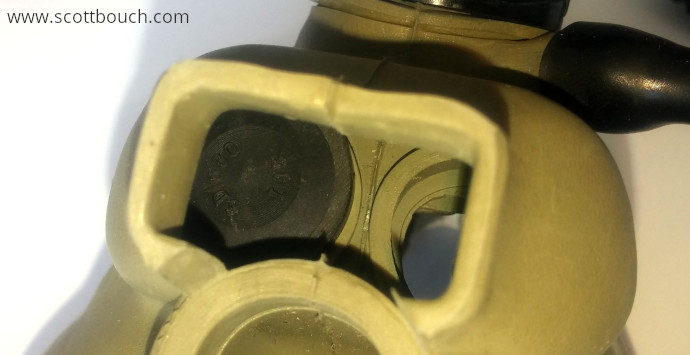
The outlet valves were a bit more fiddly to install correctly without the lip of the rubber hole turning back on itself. They are inserted through the outlet duct, which restricts access.
Oxygen Inlet Elbow
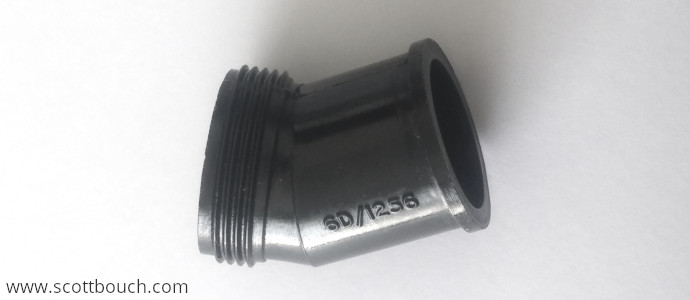
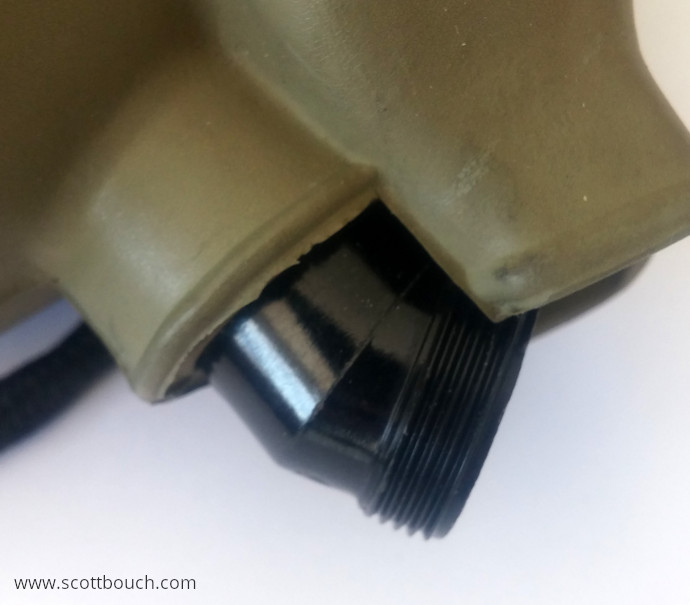
The oxygen inlet elbow slots straight into its hole, and later is wired in place.
Air Inlet Valve
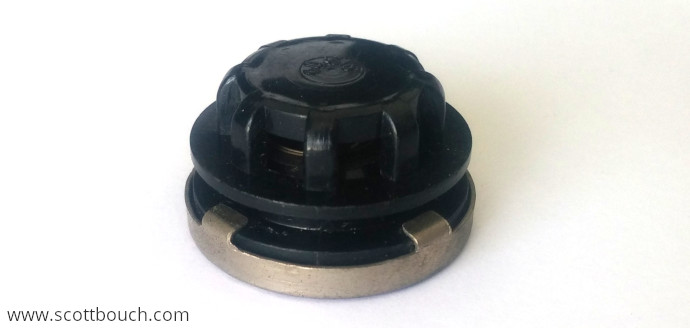
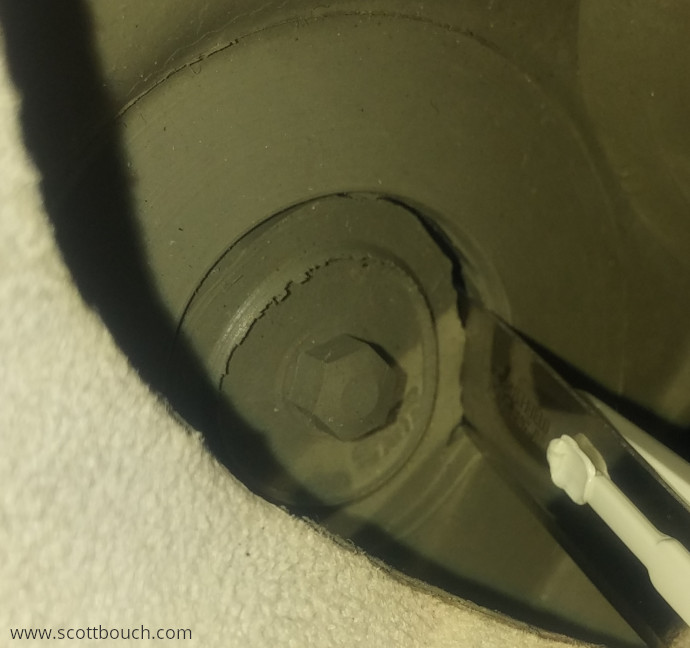
As the facepiece was for an R-Type mask, there was no hole pre-cut for the air inlet valve, but luckily the rubber moulding has markings to show where to cut a hole to install the valve (the H-Type and R-Type share the same physical facepiece moulding). Using a sharp scalpel, I ran it round the markings to make a hole for the air inlet valve, which then just popped into place.
Harness
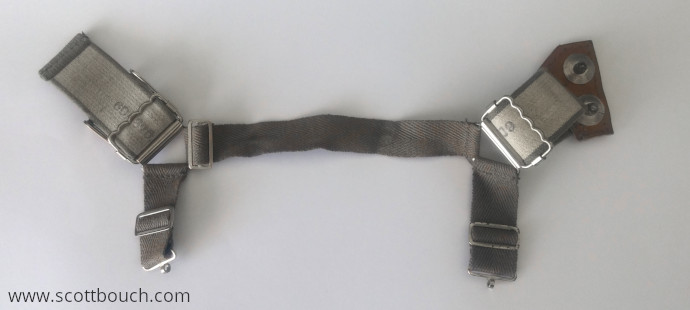
The harness left side just slots through the two upper retainers.
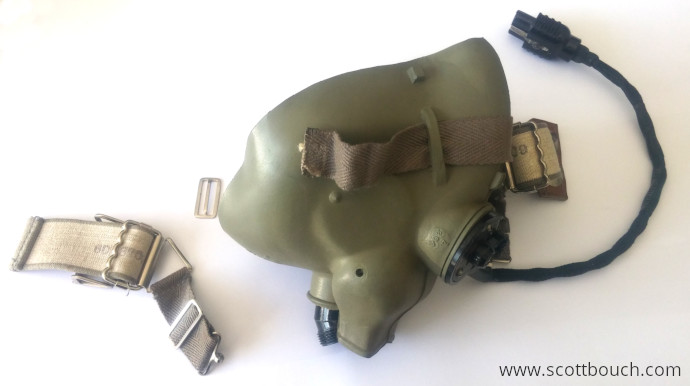
The two parts are then buckled together on the right hand side. It is later wired in place at the bottom.
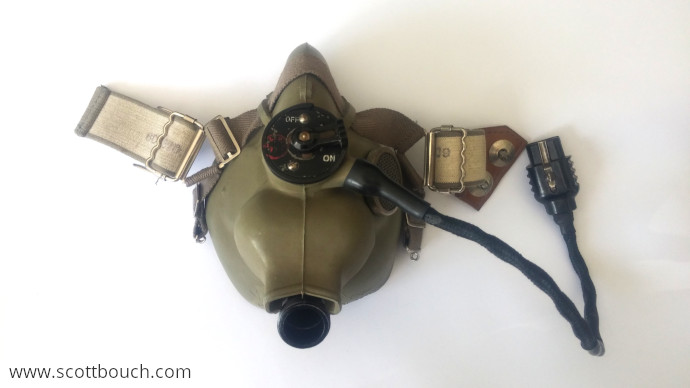
Wiring it all in place
Please Note: The wire used for this restoration is too thin (but fine for display purposes), it will be replaced when the correct size is available.
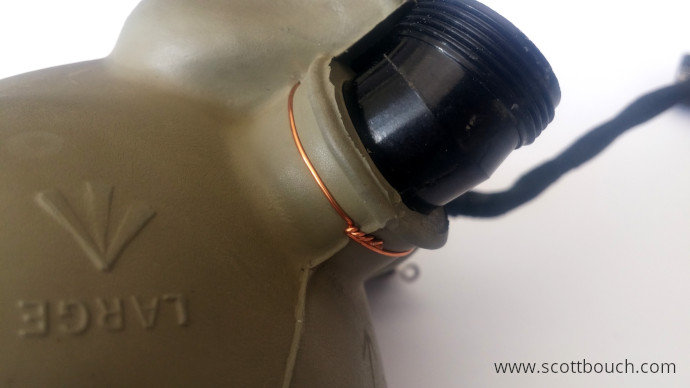
Enamelled copper wire is used to secure the microphone in place.
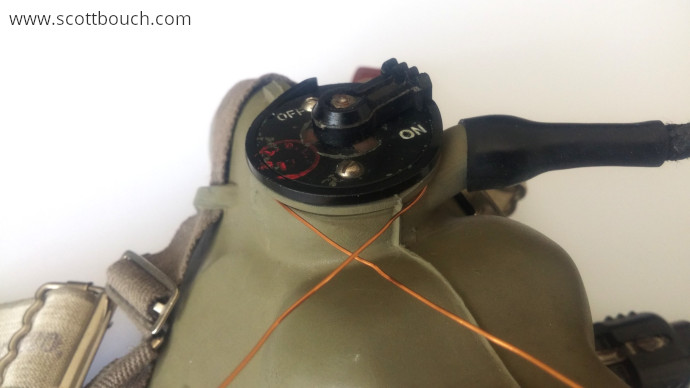
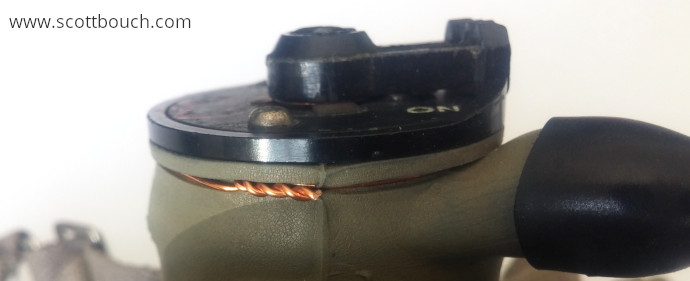
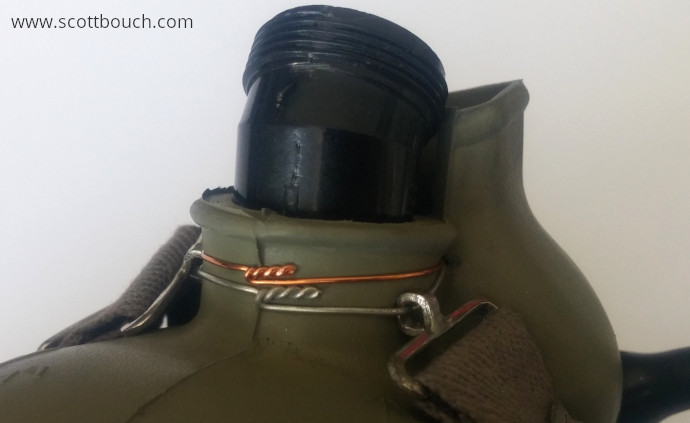
To secure the inlet elbow with enamelled copper wire, two holes need to be poked through the rubber to allow the wire to pass through the outlet duct. I used a metlaworking scribe
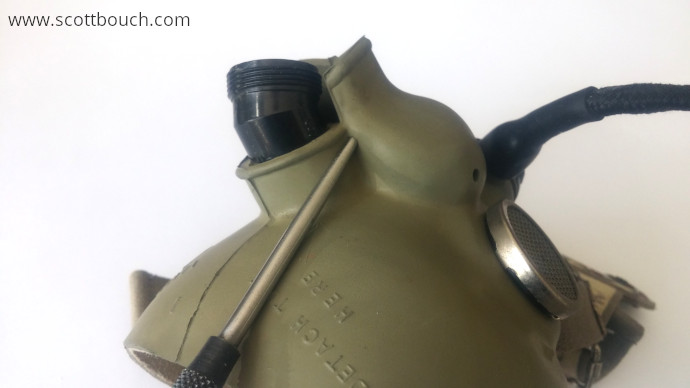
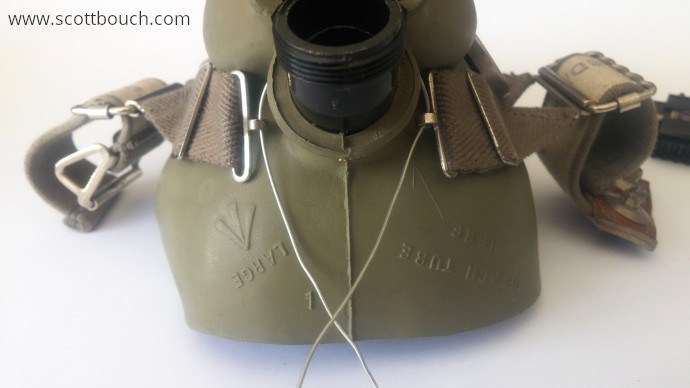
The harness is then secured at the bottom, not using enammelled copper wire, but instead, tinned copper wire. The wire is to be passed through the holes previously made for the inlet elbow wire.
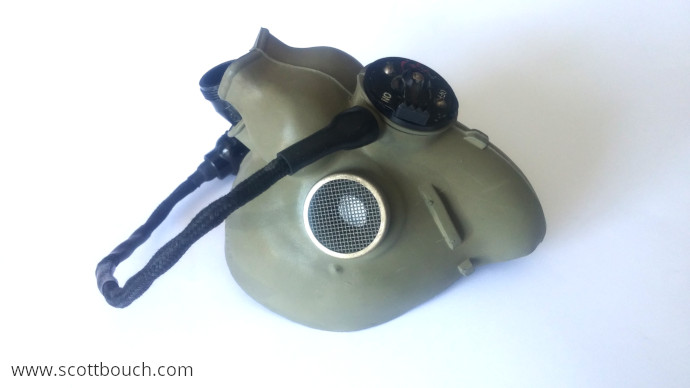
The Finished Mask
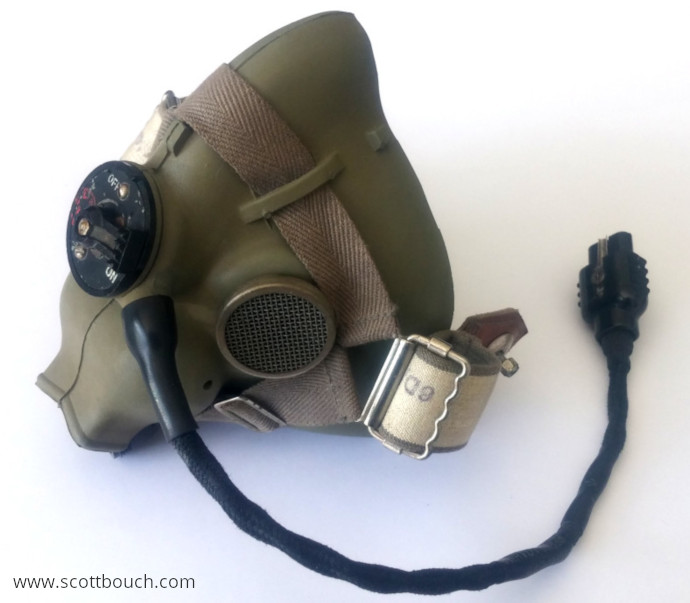
It looks good with the fresh facepiece, the chamois leather on the inside is clean and white, and there are no cracks in the rubber.
Conclusion
All in all, it took less than an hour to build, but from finding the parts at the right price (total £13.00), to the finished item the project took about 2 years! It was an enjoyable little project, that's left me with a very nice mask for very little investment.
