British Aircrew Headset Extension Lead Restoration
I am unsure about what the application is for an extension lead like this, as most aircraft have provision for aircrew to connect to the intercom system at their seated location, but it's a nice little cable, very useful to someone like me who messes about with this type of tech.
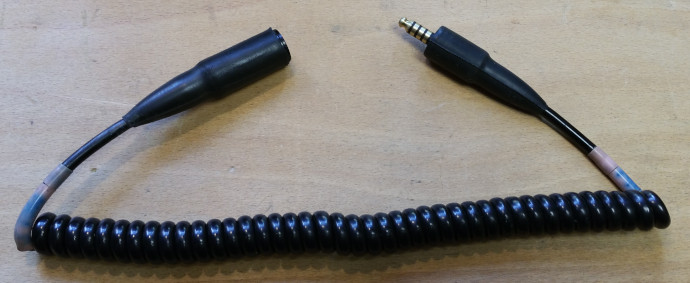
Construction
It simply consists of a Type 671 "NATO" plug, and a Type 626 "NATO" socket, connected by a coiled multicore wire.
Issue
The microphone circuit worked fine when tested in conjunction with other headsets, however with significant crackles and the occasional total loss of headphone audio.
Investigation
Audio Tests
I connected this lead to an A1961M intercom amplifier and wore a known good G-Type helmet to test it.
By shaking / wiggling and manipulating the cable I was able to stimulate the fault condition but with limited accuracy for locating the fault as the whole cable tends to move. To improve accuracy I withdrew the rubber strain relief boots and unscrewed the back shells to reveal the soldered connections to the Type 671 "NATO" plug and Type 626 "NATO" socket to examine the cores of the multicore cable.
This allowed me to gently manipulate the individual cores of both the plug and socket connections, and it revealed an issue at the socket end by listening for crackling, but still it was difficult to establish exactly which core was at fault.
Test Leads
To properly test this cable I assembled a pair of test leads, using a spare plug and spare socket, to each I soldered 4 test wires of the appropriate colours, allowing easy electrical access to the cable circuit.
Multimeter Tests
On the workbench I tried two different multimeter approaches, the first was using my old AVOmeter 8 with moving coil pointer. This did flick when continuity was broken, but the speed of the pointer was too slow to tell with any accuracy exactly where the fault was.
I then tried a FLUKE digital multimeter (DMM) and due to the sampling rate, I was presented with a similar issue to the AVO, where the lag between me moving the wires and seeing a change on the display made it impossible to determine the exact location of the fault.
Continuity Tests
So, thinking about the human senses, hearing and sight, both of which respond very quickly to changes, I was looking to quicken the electrical sensing device as this was causing the delays. A really very simple idea occurred, of using an LED with a battery.
Test Result
As can be seen in the video below, the LED gave me an instant indication when the faulty wire was moved, allowing me to very precisely identify the location of the issue.
Repair
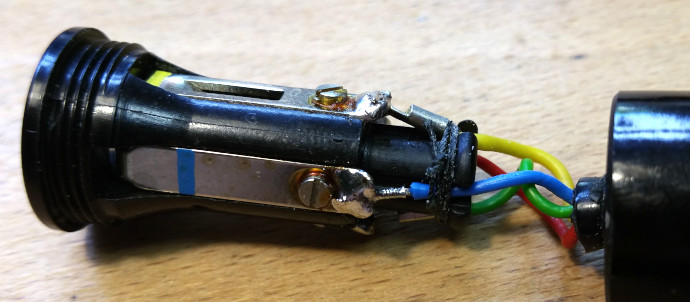
After de-soldering the TEL- blue wire from the socket, I gently tugged on the crimp to test the feel of the wire (as sometimes with breaks you can feel a slight stretch). And without much effort, the crimp ferrule just fell off.
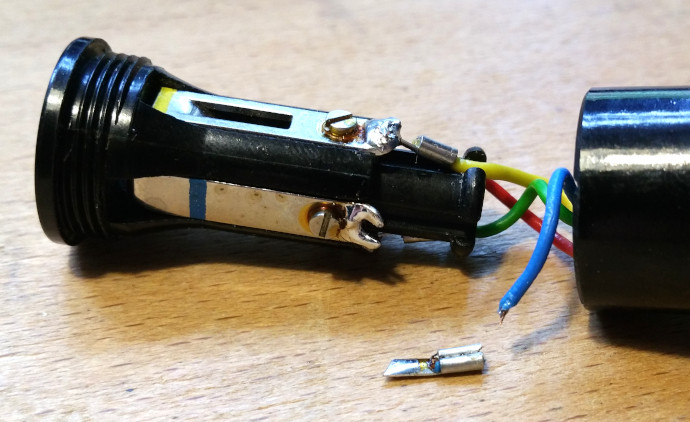
I worked on the assumption that this was likely be the cause of the fault, due a manufacturing defect during crimping, or stress imposed by the waxed cotton lacing used as a strain relief.
Working with "Tinsel Wire"
Tinsel wire is brilliant stuff, but a pain in the backside to work with. It's super flexible, and can withstand a lot of movement before eventually breaking down, so is ideal for situations involving lots of abuse, such as giving it to a human.
A few varieties of it are found in many flying helmet comms cables, oxygen mask microphone cables, and PEC cables.
However, for all of its positive aspects, you can't simply solder it. It's made of many tiny foil strips wrapped around a thread (possibly kevlar), then the wrapped threads are twined together before insulation is applied. which is why this cable was constructed with crimp ferrules which were then soldered to the connector terminal lugs. In absence of any suitable crimp ferrules, I opted for the old fashioned method of lashing the end with a strand of tinned copper wire, which allows soldering.
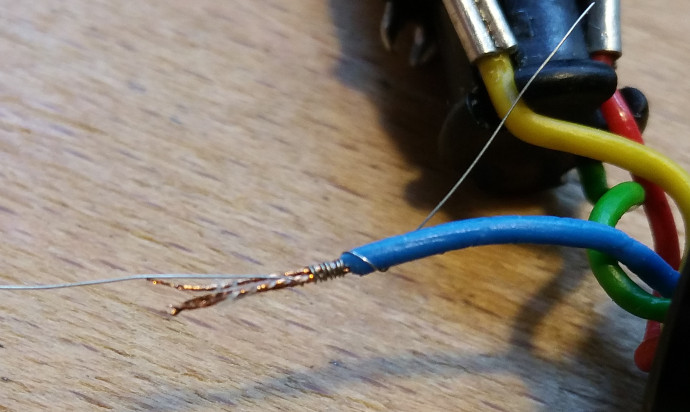
I stripped back the insulation a little further than necessary so as to inspect the tinsel wire (in case the break was further down). Lashing the tinsel wire by hand with no special tools is really fiddly, especially with no magnifying glass! But got it done. If anyone reading this is aware of any special equipment for lashing such wires, please drop me a line as I'd love to learn more, my research into equipment for this has returned zero results so far.
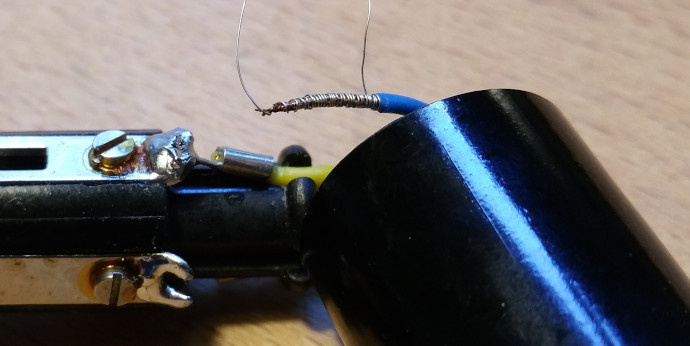
Once fully lashed and trimmed, the end can be tinned and soldered to the lug. Waxed lacing cotton is used to re-apply the strain relief.
Final Testing
Continuity Tests
Repeating the LED continuity tests from earlier, not a flicker was seen, see video:
Audio Tests
As final proof, I checked it again with the intercom amplifier and helmet, and not a single snap, crackle, or pop was heard. Lovely.
Completed
After proving the audio quality, it was ready for final assembly. With the help of a little Hellerine oil, the rubber strain relief boot was slid back in place over the socket.
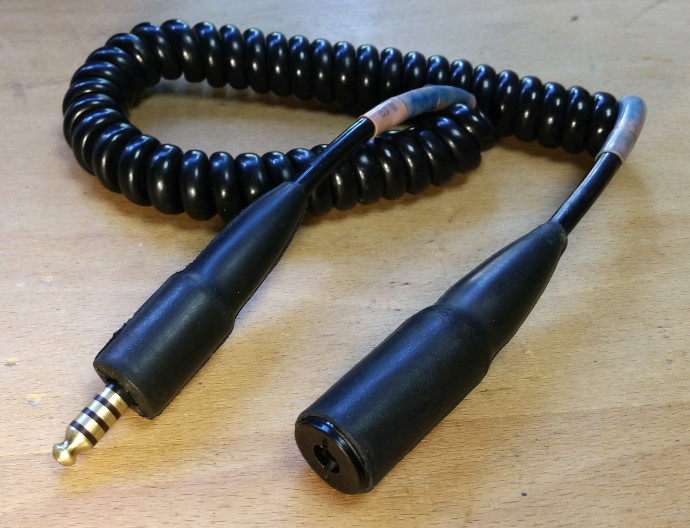
Finding the fault was a bit of a needle in a haystack, but coming up with the best approach made it easy. I am glad to have fixed it as the alternative was to save the connectors for other projects and scrap the cable.